Week 8 (tri2) - Cameraless Photography
- Julia Toczyska
- Mar 19, 2025
- 3 min read

Updated: Apr 21, 2025
Today we had a go at cameraless photography including photograms and chemigrams. We also experimented with with image transfer through gel printing.
Chemigrams
Chemigrams are a unique form of cameraless photography, instead of using a typical camera, we created images directly on light sensitive paper by applying resists such as soap and oil to block or alter chemical reactions. After creating our beautiful designs, we then exposed the paper to developer and fixer, producing abstract patterns as the resists break down.
By the end we managed to create amazing abstract images, quite literally shaped by chance and chemical interaction. Combining elements of both photography and painting, chemigrams offer a creative and experimental approach to image making, where spontaneity and chemistry become the artist's brush. I loved every second of it.


Apart from experimenting with the chemicals, we also had brief look at the enlargers and the process of dark room printing. I recall often using the darkroom during my time at A level photography. This in particular gave me an interesting idea for my project. Thus far I have explored my relationship to video games through analysing many of screenshots I took throughout the COVID period. I thought to myself, how I could use those screenshots in order to make an artistic peace - well initially I thought of collages, but how about I use the darkroom instead? Well in order to execute this idea, I would have to use a film camera to take photographs of my screenshots, perhaps I print them out on paper and then photograph them or just take a picture of a monitor screen, and then develop them in the dark room. Ideally by doing so I would experiment with developing said photographs in the dark room, making them quite abstract and fun. I have no guarantee of this process turning out cohesive, however, I am curious enough to give it a go.
Film Developing
Before heading back to the base room, me and my two other course mates, Cassie and Will, decided to develop some films Will had laying around. Since me and Cassie have previous experience we have decided to help Will out as much as we could. Additionally, Will took some videos, in form of Vlogs, of the whole process, well at least as much as he could outside of the dark room.
Image Transferring
Unfortunately, I missed a huge chunk of this part of the lecture due to us messing around with films back at the dark room, however I did took some pictures of some amazing artworks my course mates did.

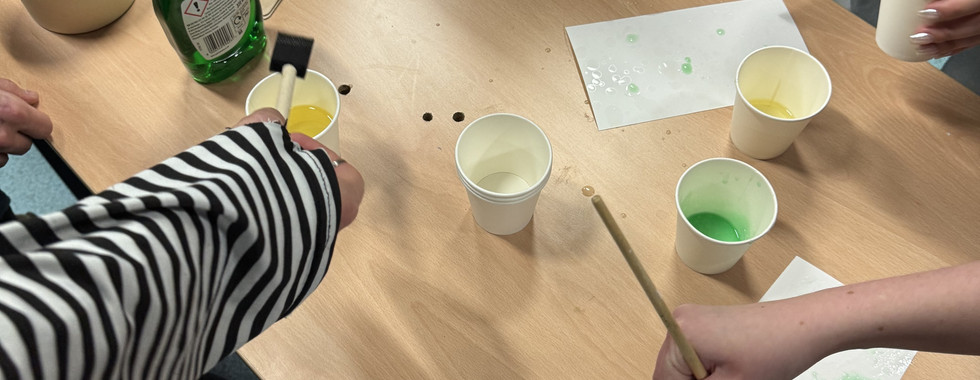
Well it seems I didn't quite get the images... but oh well let me walk you through the process instead! I have already touched on the process of image transferring previously with my own projects, essentially its the process of lifting an image from one surface and applied to another. Essentially, we put a thin layer of paint on top of gel mats, spread it with a roller, and then placed it on top of a piece of paper in order to transfer the paint. We mixed the small range of colours we had and also used different tools such as rollers, sponges and brushes. We had magazines that we could incorporate in some way too. We used other materials (pens and markers) to outline stuff and add detail. Overall, a very fun process! Perhaps if I come back to my original idea of collages I could additionally incorporate image transferring.


Comments